It is available under PostgreSQL License, similar to the MIT license.
Today, a large number of PHP programming framework have support to use PostgreSQL.
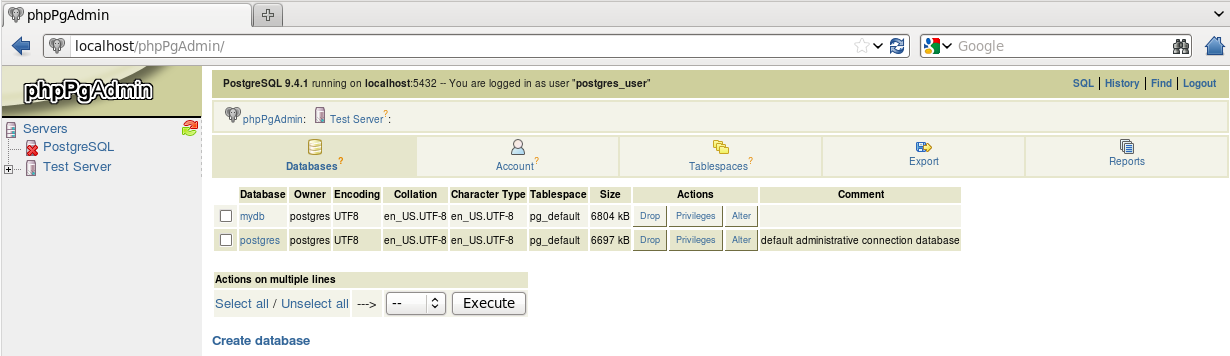
PhpPgAdmin is a web based administration tool for PostgreSQL. Source and binary can be downloaded from http://phppgadmin.sourceforge.net
It is available under GNU General Public License.
Steps listed if for installation environment:
Centos 6.3
Selinux in permissive mode
Apache httpd version 2.2.15
Step 1: Install PostgreSQL
Refer previous posting for the installation. PostgreSQL version 9.4 is available at this point and its safe to say that just replacing 9.3 with 9.4 will work. Here are list of the changes;Yum repository
- 32bits: http://yum.postgresql.org/9.4/redhat/rhel-6-i386/pgdg-centos94-9.4-1.noarch.rpm
- 64bits: http://yum.postgresql.org/9.4/redhat/rhel-6-x86_64/pgdg-centos94-9.4-1.noarch.rpm
RPM packages: postgresql94-server postgresql94-contrib
Ensure TCPIP connection is setup, edit /var/lib/pgsql/9.4/data/postgresql.conf
listen_addresses = '*'
port = 5432
Configure authentications: /var/lib/pgsql/9.4/data/pg_hba.conf
Configure server to accept TCPIP: /var/lib/pgsql/9.4/data/postgresql.conf
Starting and enabling at Linux bootup.
service postgresql-9.4 start
chkconfig postgresql-9.4 on
Step 2: Configure firewall
Its good to keep local firewall enabled. Edit at end of /etc/sysconfig/iptables-A INPUT -m state --state NEW -m tcp -p tcp --dport 5432 -j ACCEPT
-A INPUT -m state --state NEW -m tcp -p tcp --dport 80 -j ACCEPT
Restart iptables.
Note: Although the Linux is in permissive, its good to enable web servers to access the database using the command;
setsebool -P httpd_can_network_connect_db 1
Step 3: Install phpPgAdmin
From the command line, typeyum install epel-release
yum install phpPgAdmin
Edit /etc/httpd/conf.d/phpPgAdmin.conf
Alias /phpPgAdmin /usr/share/phpPgAdmin
# Apache 2.2
Order deny,allow
Allow from all
Then restart httpd.
Step 4: Configure phpPgAdmin
Lets use a server administration configuration called "Test Server" that we can practice with. Edit and/or add following server instance to /etc/phpPgAdmin/config.inc.php
Add
$conf['servers'][1]['desc'] = 'Test Server';
$conf['servers'][1]['host'] = 'localhost';
$conf['servers'][1]['port'] = 5432;
$conf['servers'][1]['sslmode'] = 'allow';
$conf['servers'][1]['defaultdb'] = 'postgres';
$conf['servers'][1]['pg_dump_path'] = '/usr/bin/pg_dump';
$conf['servers'][1]['pg_dumpall_path'] = '/usr/bin/pg_dumpall';
Edit
$conf['extra_login_security'] = false;
$conf['owned_only'] = true;
Restart PostgreSQL.
Open a web browser and type in the URL http://localhost/phpPgAdmin
Some important files that might be of use;
- /usr/share/phpPgAdmin/conf/config.inc.php
- /etc/httpd/conf.d/phpPgAdmin.conf
- /etc/phpPgAdmin/config.inc.php
Notes:
- phpPgAdmin: If keep getting "Login failed", check the PostgreSQL server for problems. Most likely the pg_hba.conf isnt fully using md5.
- References on administration from PostgreSQL Documentation.
No comments:
Post a Comment